Once you've exported your Microsoft Outlook for Mac data into an .olm file, we're ready to start the conversion process in Olminator.
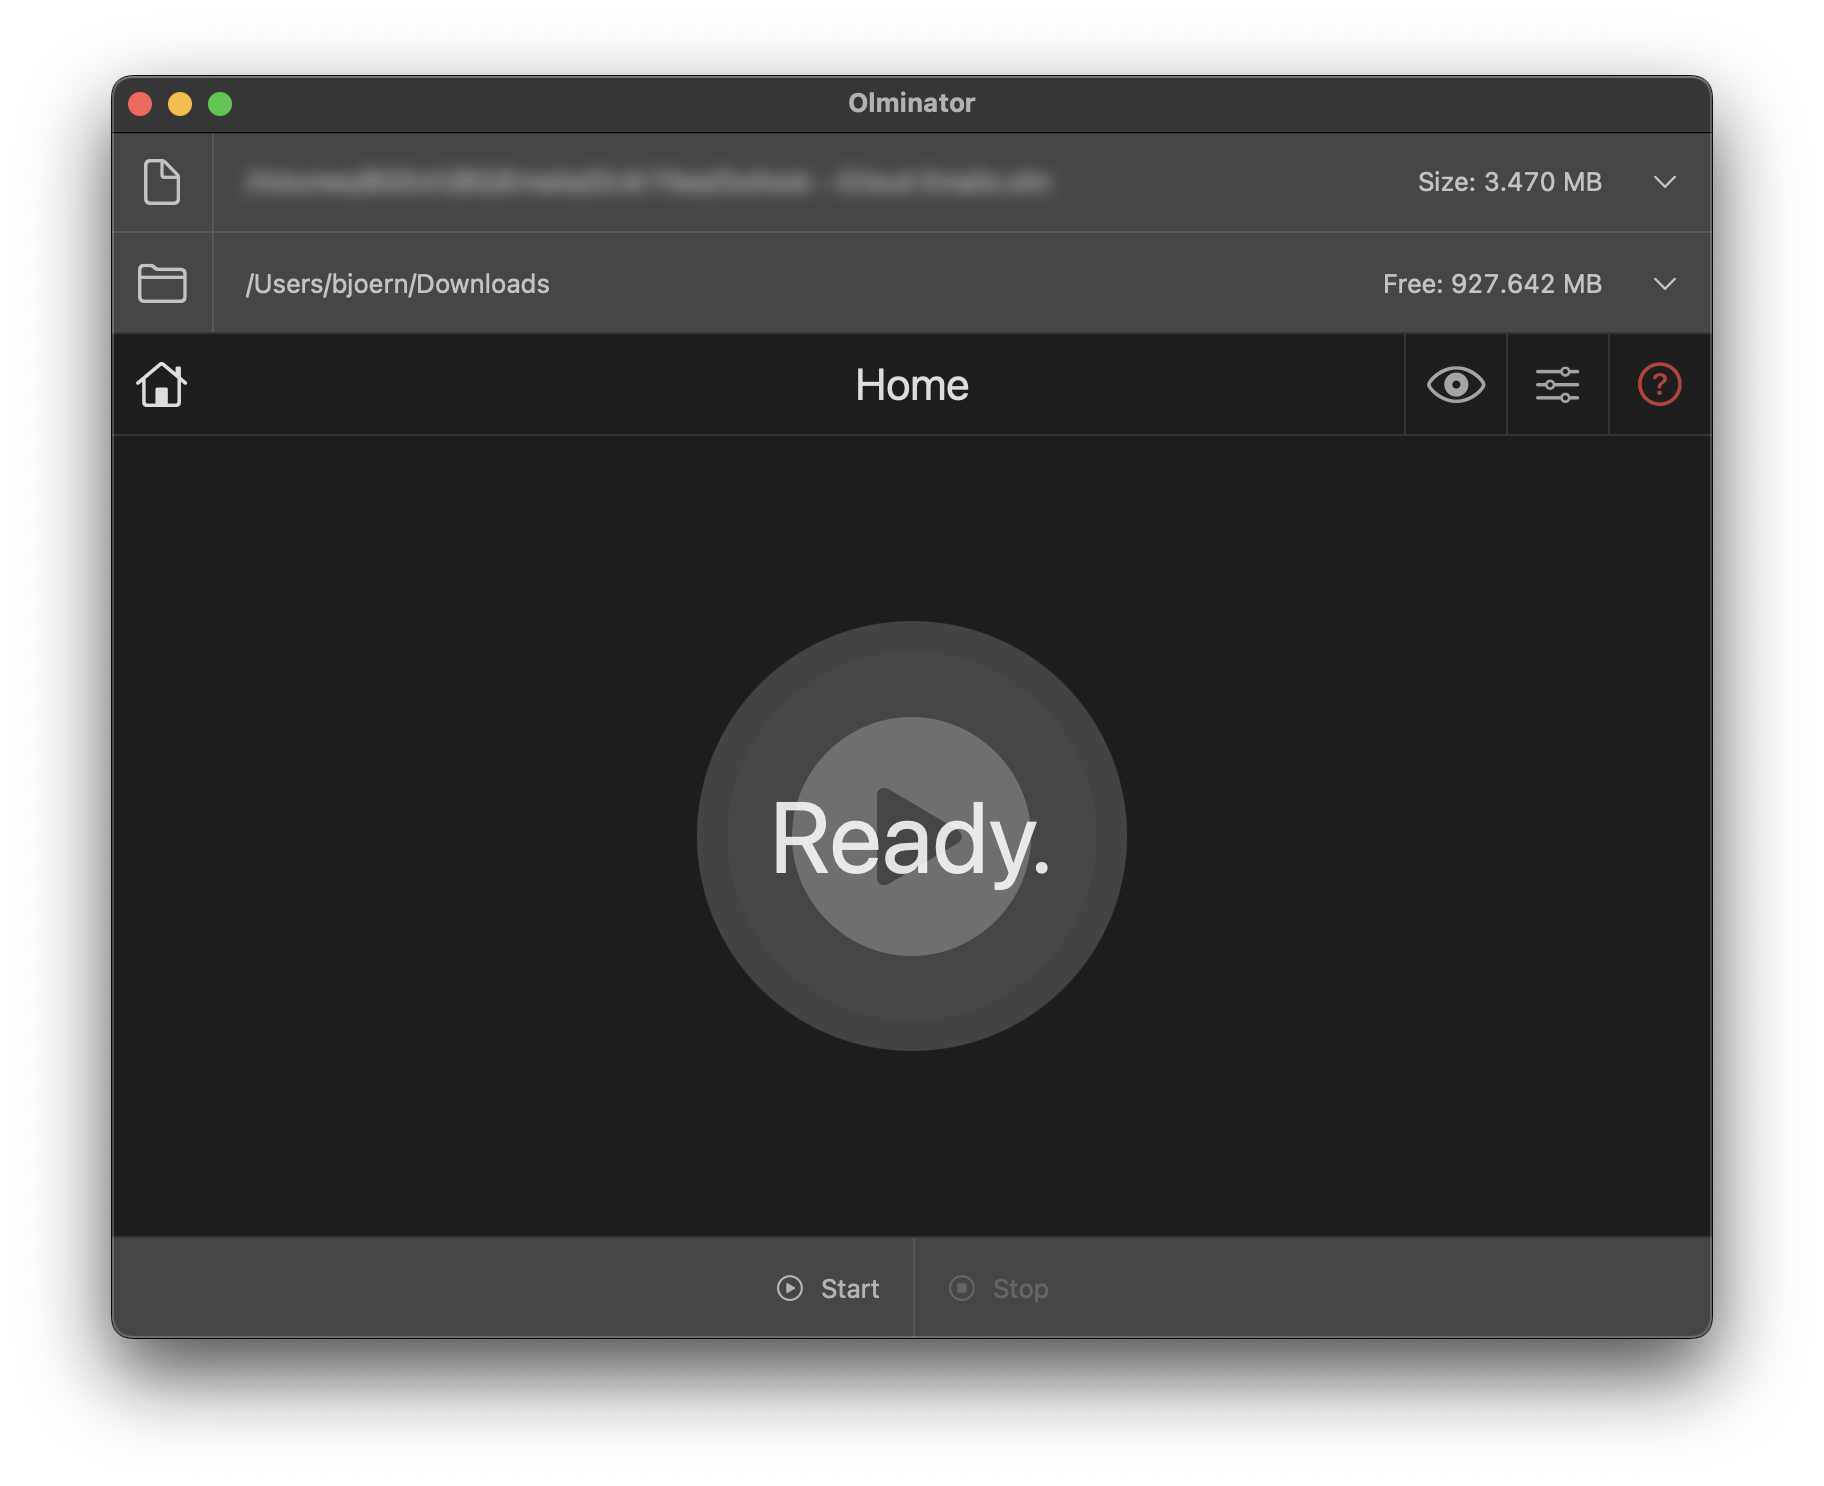
After having started Olminator for the first time and having come past the Welcome screen, you'll get presented with the Get Started view:

Before you can press the "Start" button at the bottom of the Olminator window, there's only two things you have to do:
Simply click the respective input area for the Input File or Output Folder fields at the top of Olminator's window, or drag & drop one or more .olm files and a folder into those fields. Olminator is also registered with macOS as application capable of handling ".olm" files, so double-clicking a .olm file in Finder or selecting and right-clicking it in Finder and then selecting "Open with.../Olminator" will get the job done as well.
Once you've selected an input file and an output folder, Olminator's entire main window will become alive. If you restart Olminator a second time, you'll skip the "Get Started" step and get to the main window directly:"
Caveat: As long as Olminator is analyzing an input file or while it is busy converting, it will not accept new input .olm files dragged & dropped or passed to Olminator via Finder's "Open" or "Open with..." functionality. Once the analysis or the conversion has finished, it will of course accept new input.
Once you've defined the ".olm" input file(s) with the above, Olminator will quickly inspect it/them (which will take at most a few seconds) and then you'll be able to press the "Start" button and get the "magic" going.
Make sure you're on the "Home" screen of Olminator if you want to start a straightforward conversion of the .olm archive you've selected. A straightforward conversion triggered on the Home screen will always process the entire archive independent of the sub-folders you may or may not have checked on the Viewer tab. Olminator will convert just everything it will find in the archive, using the configuration settings as defined in Olminator's Settings tab, of course.
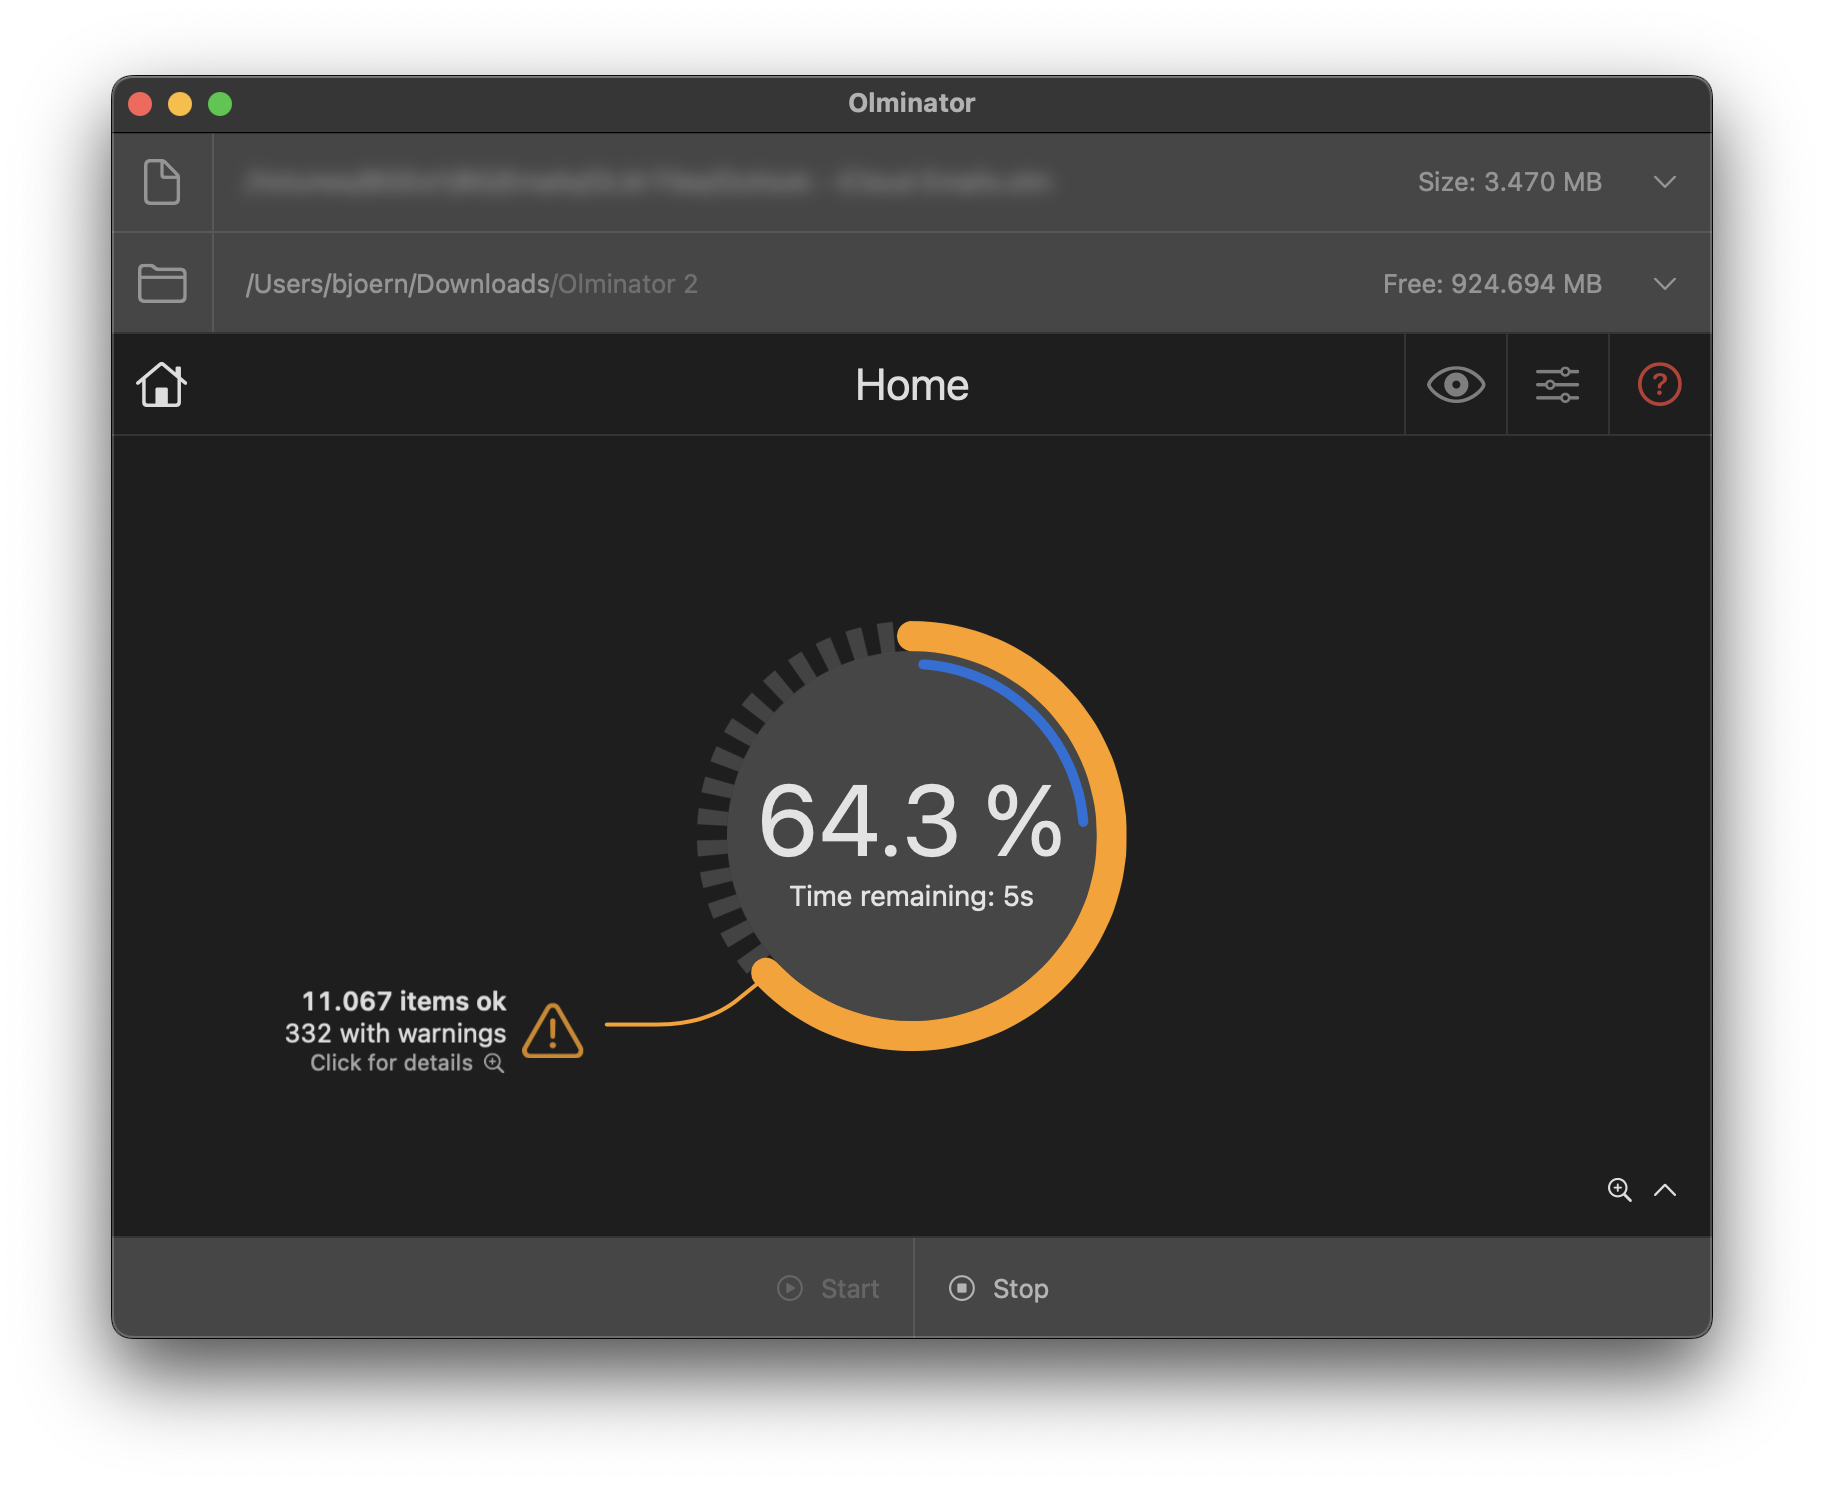
A progress indicator will show you how the conversion is proceeding, whether any warnings or errors have been issued, how much time it will approximately take to finish the entire procedure.
In the lower right corner you'll find a little magnifier glass button which you can click to reveal a more detailed progress view just in case you are interested (or bored watching the current view) – the one for the geeks.
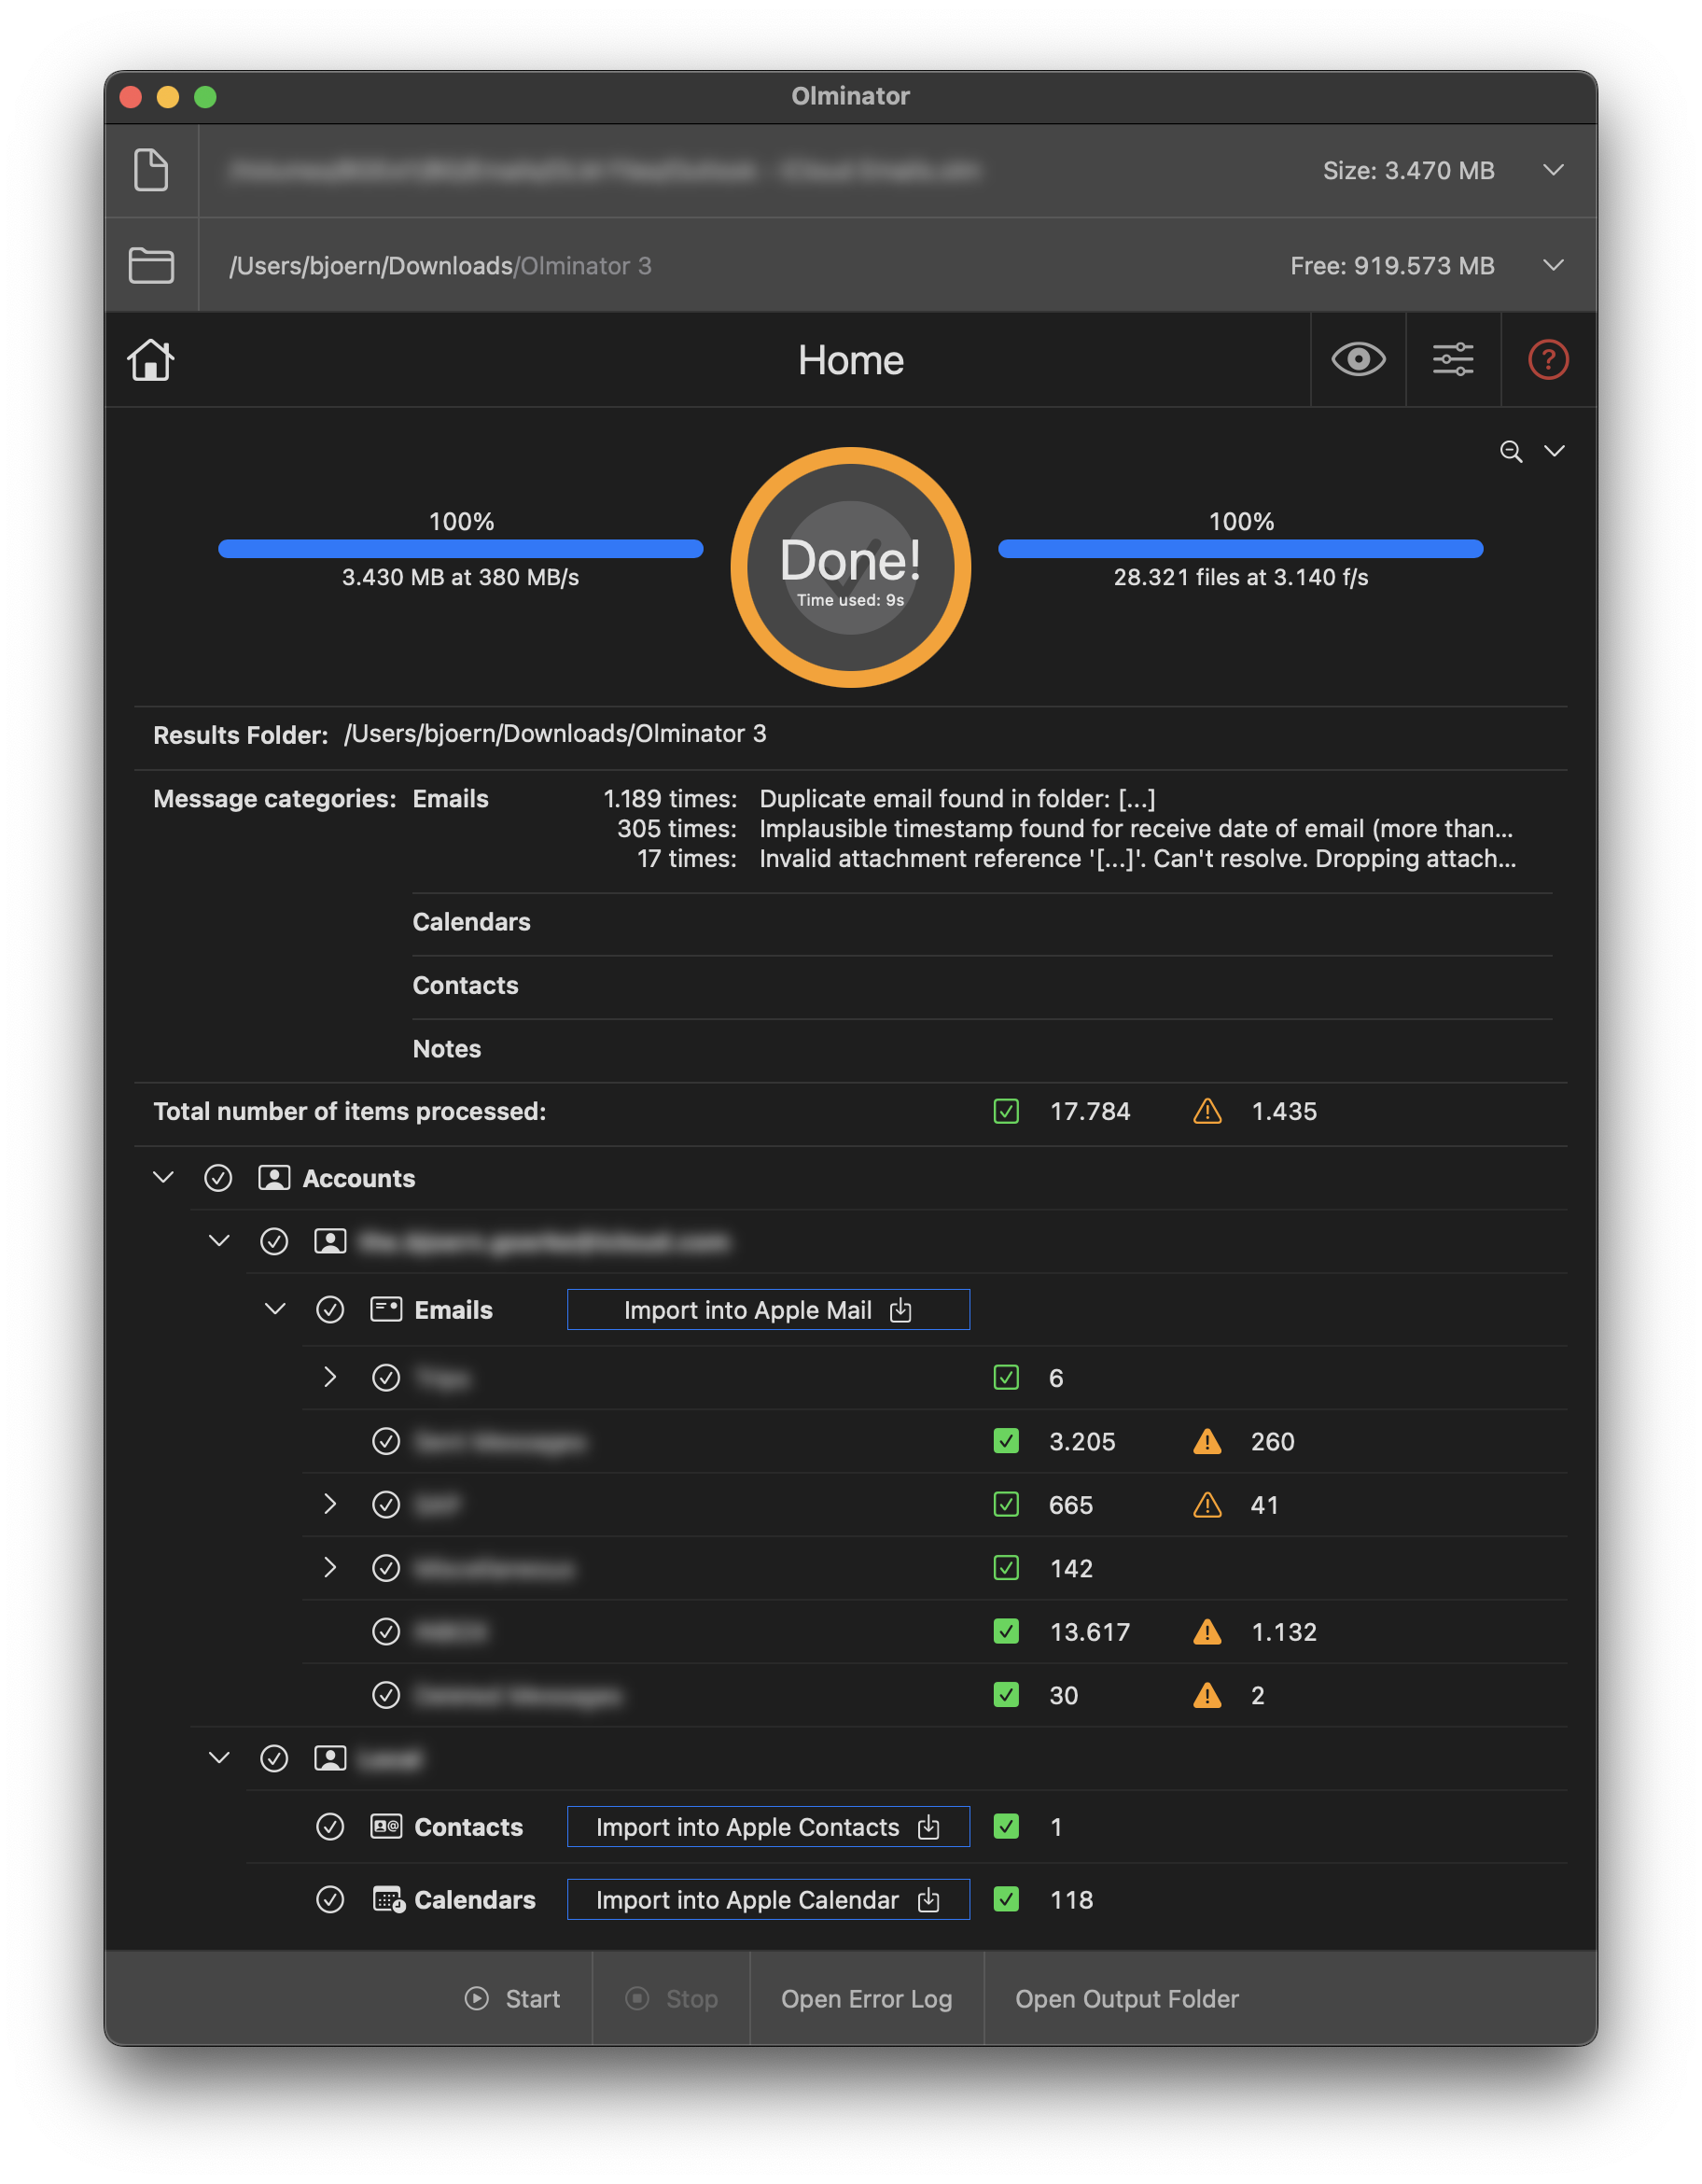
Olminator will create a new "Olminator" sub-folder within your output folder. If there is already an "Olminator" directory present, it will create an "Olminator 2" folder (and so on) to preserve already existing conversion content. Olminator will therefore never overwrite any conversion output that you may have created in a prior conversion run with Olminator. It also means that you have to clean up your output folder when you're completely done with a conversion and want to reclaim the disk space which was used by Olminator. After a conversion run you'll find all conversion output as well as the Olminator success and error log files within this "Olminator" sub-folder.
Caveat: To convert the entire input of the .olm file, Olminator will create output that will be approximately of the same size as the input .olm file (likely it's a bit less). Make sure there is sufficient free disk space available in the file system of the output folder's volume! Otherwise the conversion may run into "out of disk space" issues during the conversion.
Olminator will show a warning if it suspects there may be a free space problem with your selections. If no warning shows up, you should be fine. Otherwise it may be advisable to choose a different output volume or free up disk space on the volume you selected before converting.
The Home sheet provides you with the most straightforward conversion experience possible: Press 'Start' and watch your entire .olm archive being converted to item-specific formats for importing into your favorite productivity apps afterwards. But there may be times when you want to have more control over what subsets of items in the .olm archive exactly get converted. This is when the Viewer sheet becomes the place to be.
By default, Olminator will simply convert the content of the entire .olm file you're providing. Since "Microsoft Outlook for Mac" will always export
On the Viewer sheet you can then select individual folders from your .olm archive in the folder list on the left side of the window. Once a folder in the folder tree has been selected, you can press the "Start converting into [format]" button at the bottom and Olminator will turn the selected folder plus all its checked sub-folders' items into the selected target format.
By default, Olminator is configured to handle your input .olm file without any need for fiddling around with settings. It will simply convert all input contained in the .olm file, honor file size limits and other constraints that some vastly popular email, calendar and contacts applications on your Mac may be thankful for.
In the unlikely event that those default settings won't work for you, you can adapt them to your needs to some extent. For details about changing the default configuration settings, please refer to the Configuring Olminator page.
Once you start the conversion by pressing the "Start" button at the bottom of the Olminator window, progress of the conversion is displayed by indicating the approximate percentage of work done as well as an estimate of the time remaining til completion.
If you're interested in getting more details or just enjoy the hypnotic nature of filenames and numbers flickering over a screen, you may click the little chevron symbol to the right bottom of the Progress overview sheet. This will open up a Progress details view into the conversion process. Enjoy.
You can stop a running conversion at any point in time by pressing the "Stop" button next to the "Start" button. The conversion will immediately stop.
Hint: You can't resume a conversion from where you left of by pressing "Stop". Pressing the "Start" button again will start the conversion of your .olm input file from scratch.
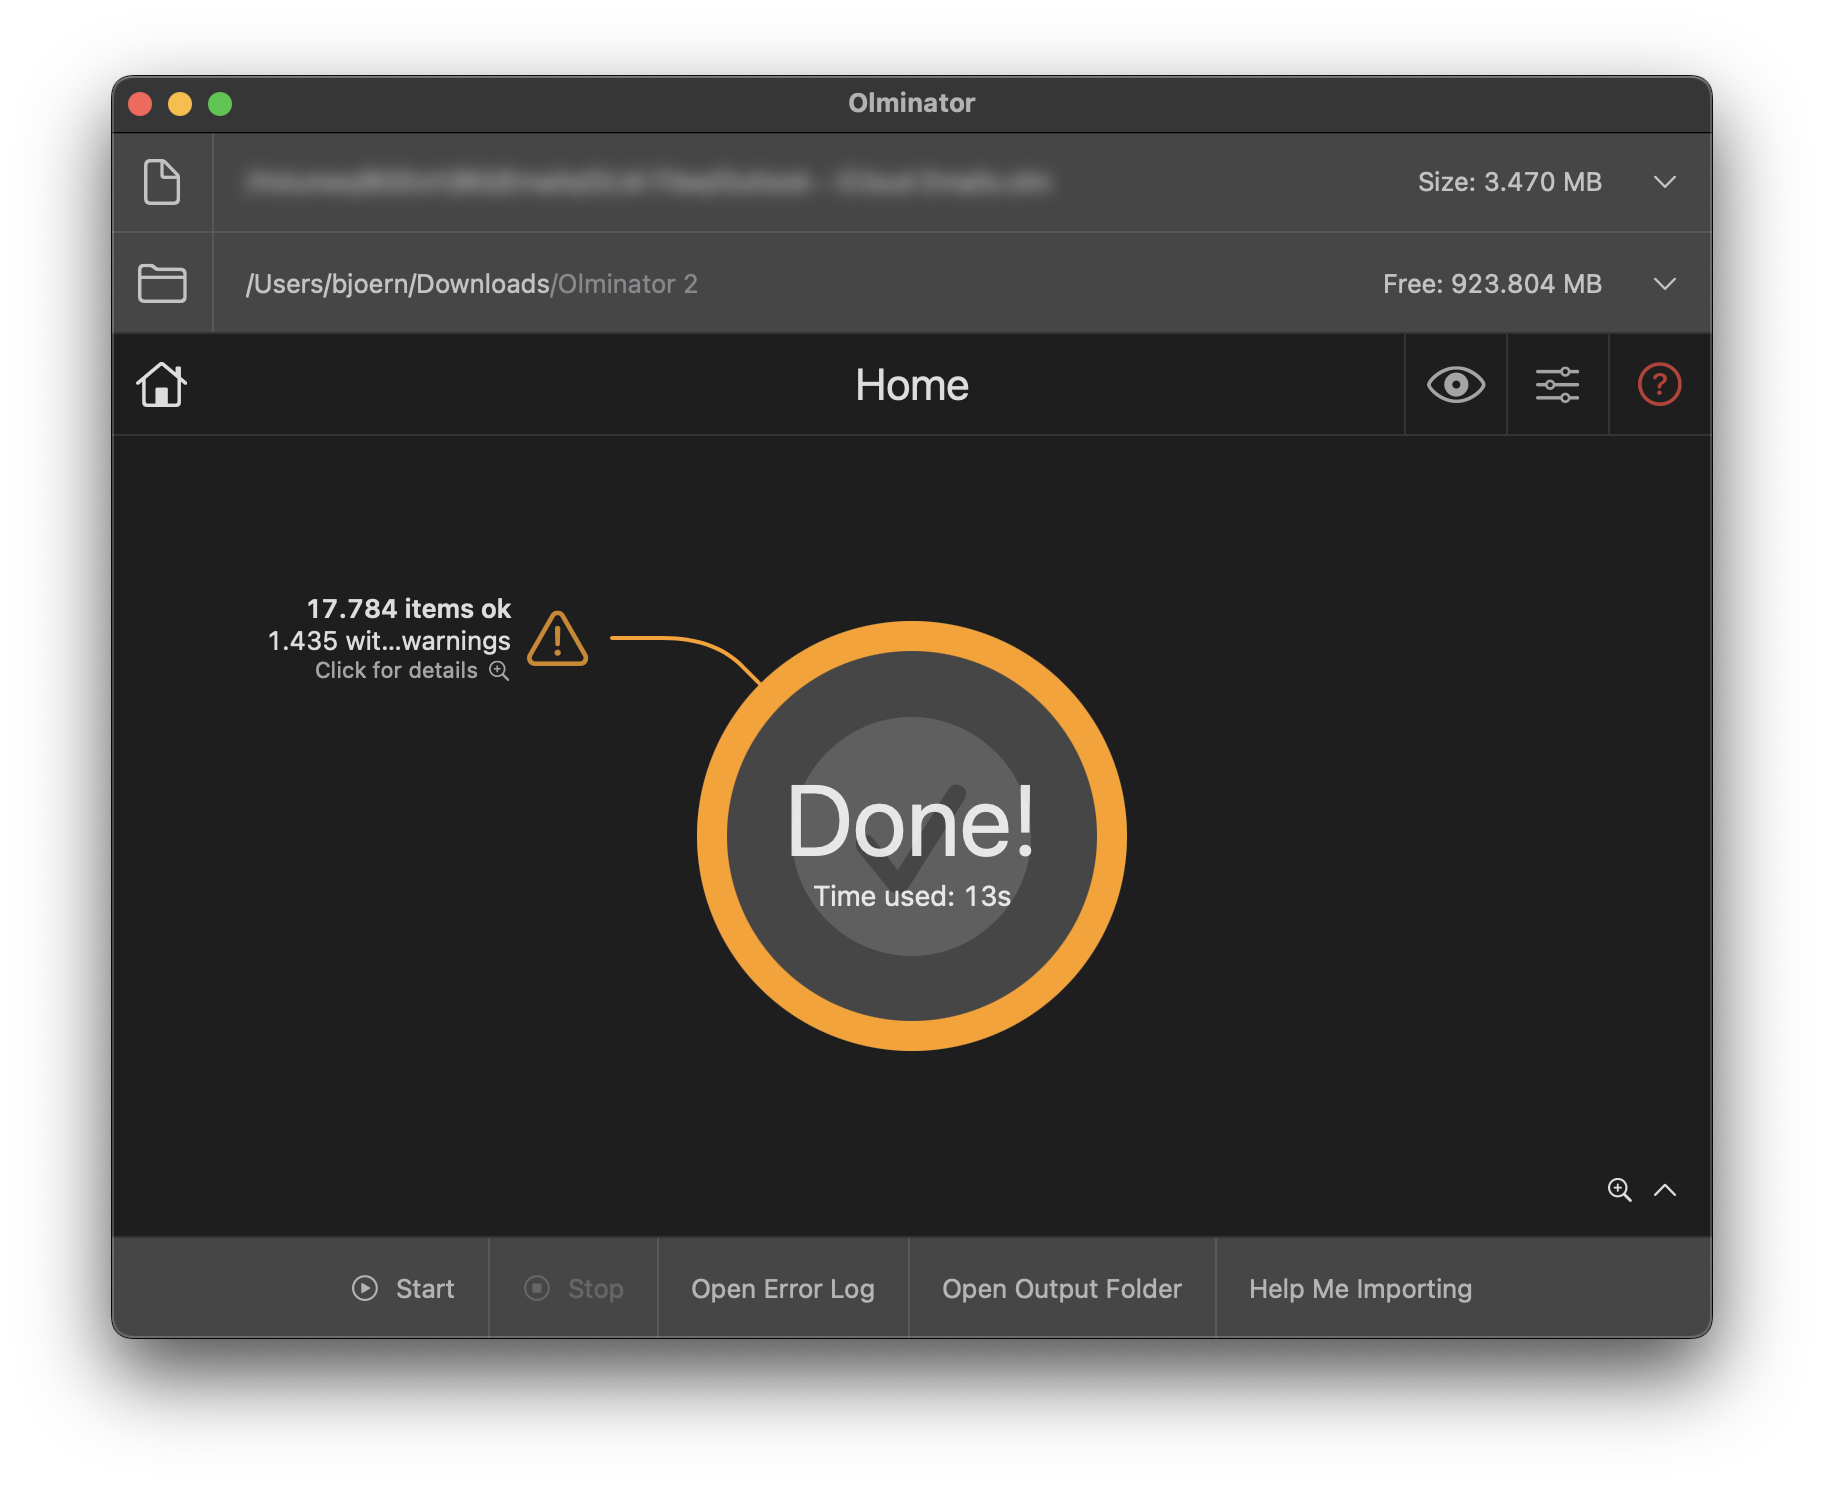
Congratulations! When the conversion has been completed, Olminator will tell you so by showing the text Done! in the progress indicator on screen.
Furthermore, three additional buttons will show up at the bottom of the Olminator window:
Hint: The error log is placed into the output folder you provided and is named "olminator_errors.log".
 This comes handy if you want to take a look at the conversion output to check that it meets your expectations or to delete or rename any folders or files in there before you import them into your email, calendar, contacts or notes applications of your preference.