After a successful conversion run has taken place, Olminator will have placed the conversion results (i.e. .mbox, .ics, .vcf and .html files) into various sub-folders resembling your Microsoft Outlook for Mac account and inbox structure within the output folder that you selected for the conversion. Three things are noteworthy:
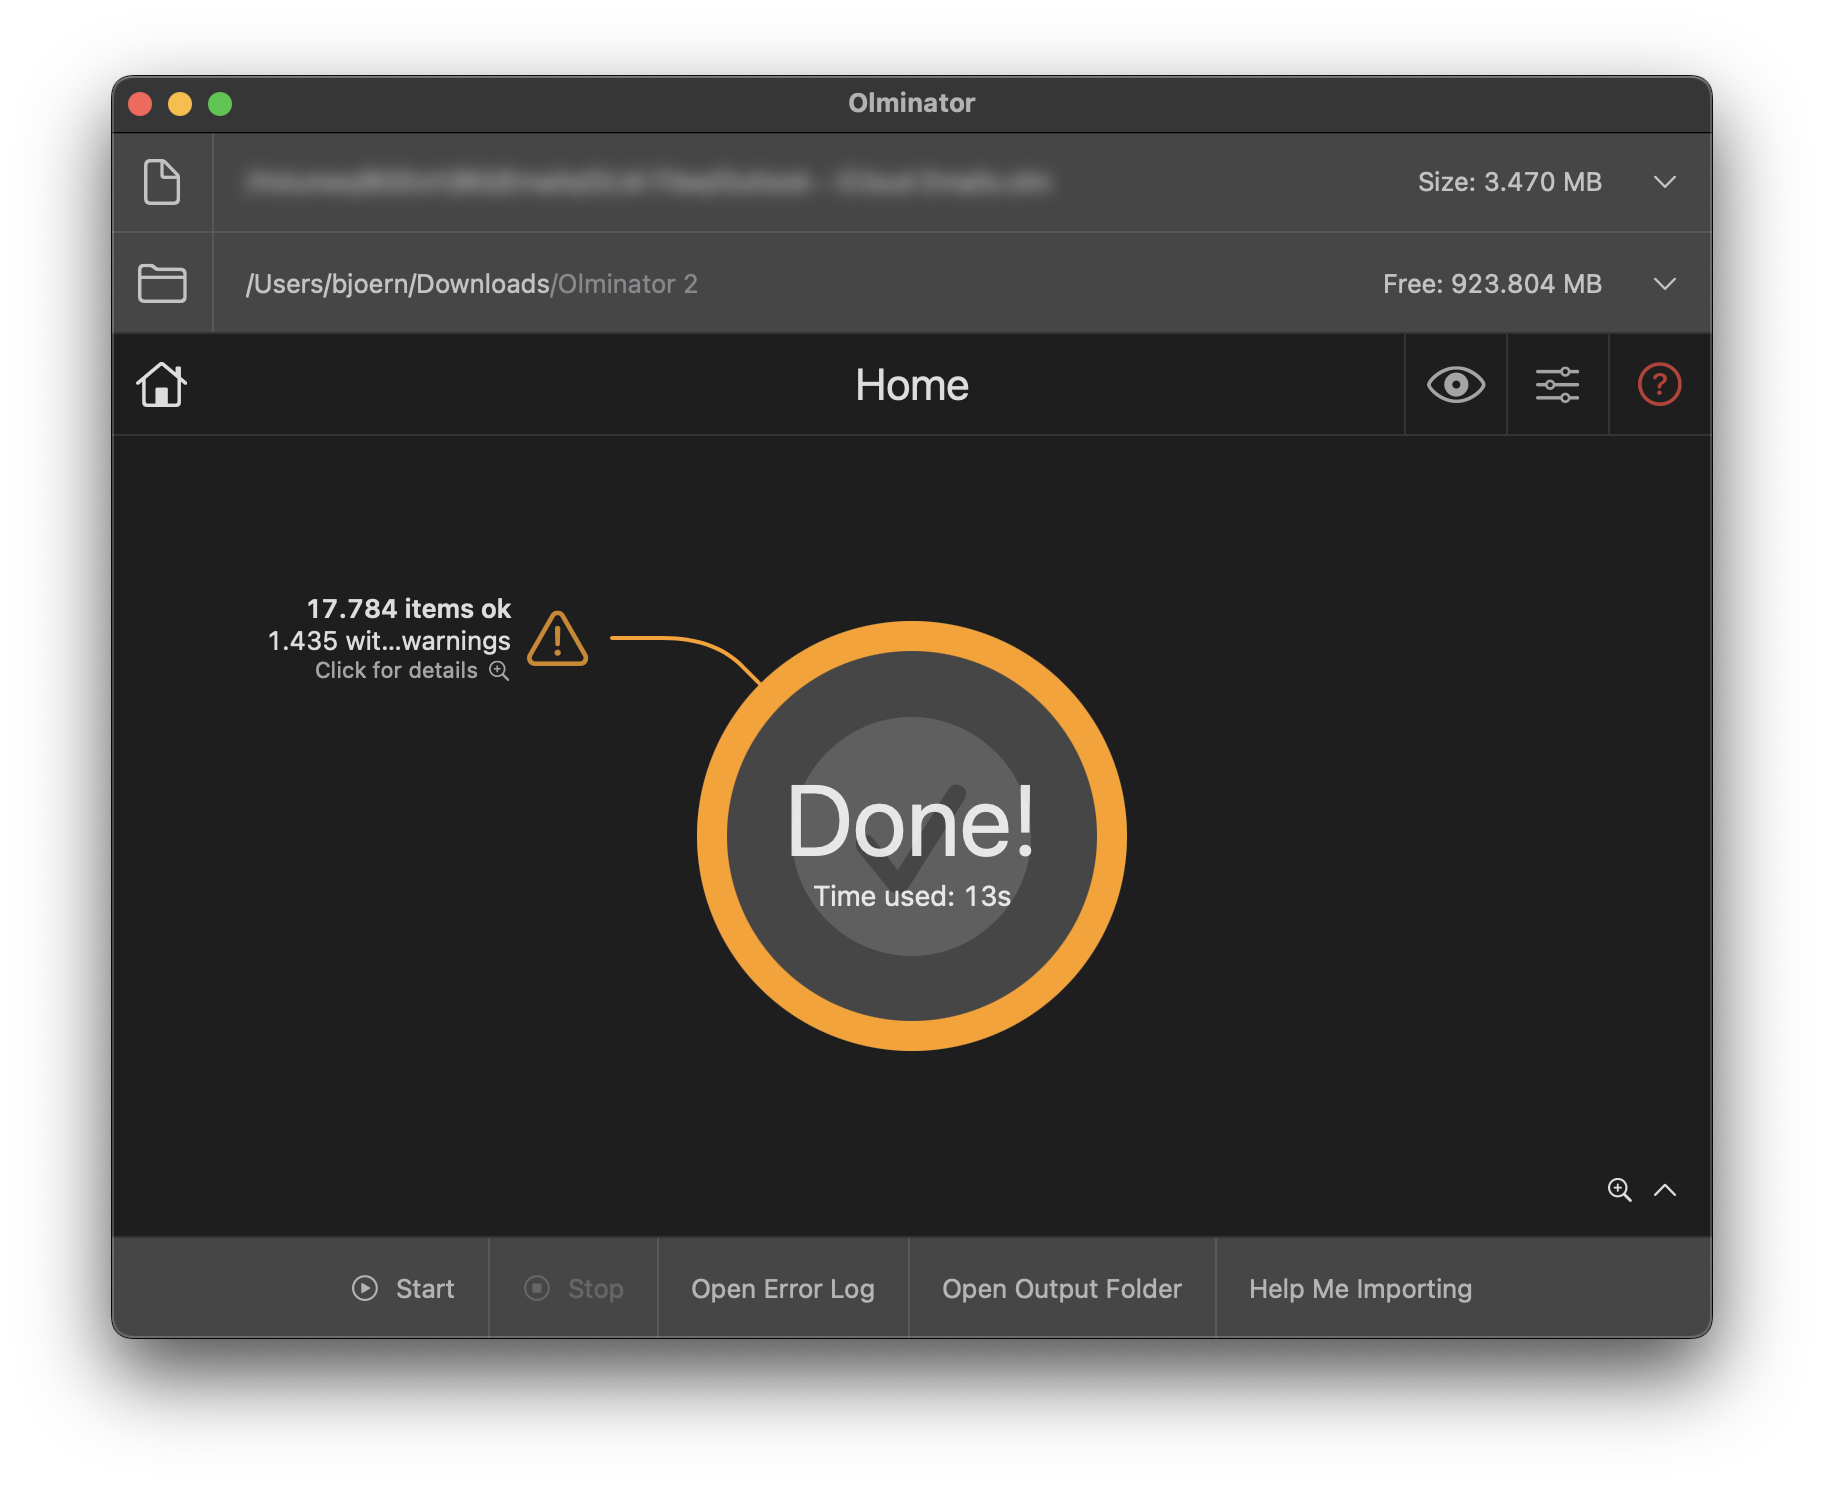
First, within the output folder you selected in Olminator, you'll find an "Olminator" sub-folder into which the conversion results have been written. If such a sub-folder already existed from a prior conversion, Olminator will have created a new one with sequence number being incremented for each conversion you start (i.e. "Olminator 2", "Olminator 3" etc.). This has two advantages: You don't accidentially overwrite prior conversion results, plus – if you are running a lengthy import of conversion data into your email application, removing, overwriting or renaming the underlying "Olminator" folder can cause the import to be aborted or incomplete. With a new folder being created, you will always get a clean result and you can convert and import in parallel without things getting in their way. Olminator displays the exact "Olminator #" folder name in gray color behind the output folder name at the top of Olminator's window.
This logic can become confusing as the sub-structure within the Olminator folders may look very similar. Make sure that whatever you do (e.g. import), you'll find yourself in the correct folder. This can safe you a lot of time and headache.
Second, within the "Olminator" sub-folder, you'll find one folder per account that was exported into the original .olm file. If you stored emails, calendars, contacts and notes locally on your computer within Microsoft Outlook for Mac, there will be a "Local" sub-folder as well.
Third, each account folder may – depending on the type of data you exported from Microsoft Outlook for Mac – contain ...
You can now import the resulting files (.mbox for emails, .ics for calendar information, .vcf files for contacts information and .html files for notes) into your desired target application supporting those portable standard formats. There's a variety of third party applications available for Mac and other operating systems that support importing those file formats.
It would go beyond the scope of this documentation to describe all import scenarios for all possible applications, but below sections explain how the import process looks like for Apple's own email, calendar, contacts and notes applications which you'll find – and most likely use – on every Apple Mac.
After the conversion with Olminator and before importing conversion results you have a chance to remove any content from the import that you don't want to include. Just access the ouput folder of the conversion and remove files or complete folders that shouldn't make it into your import data set.
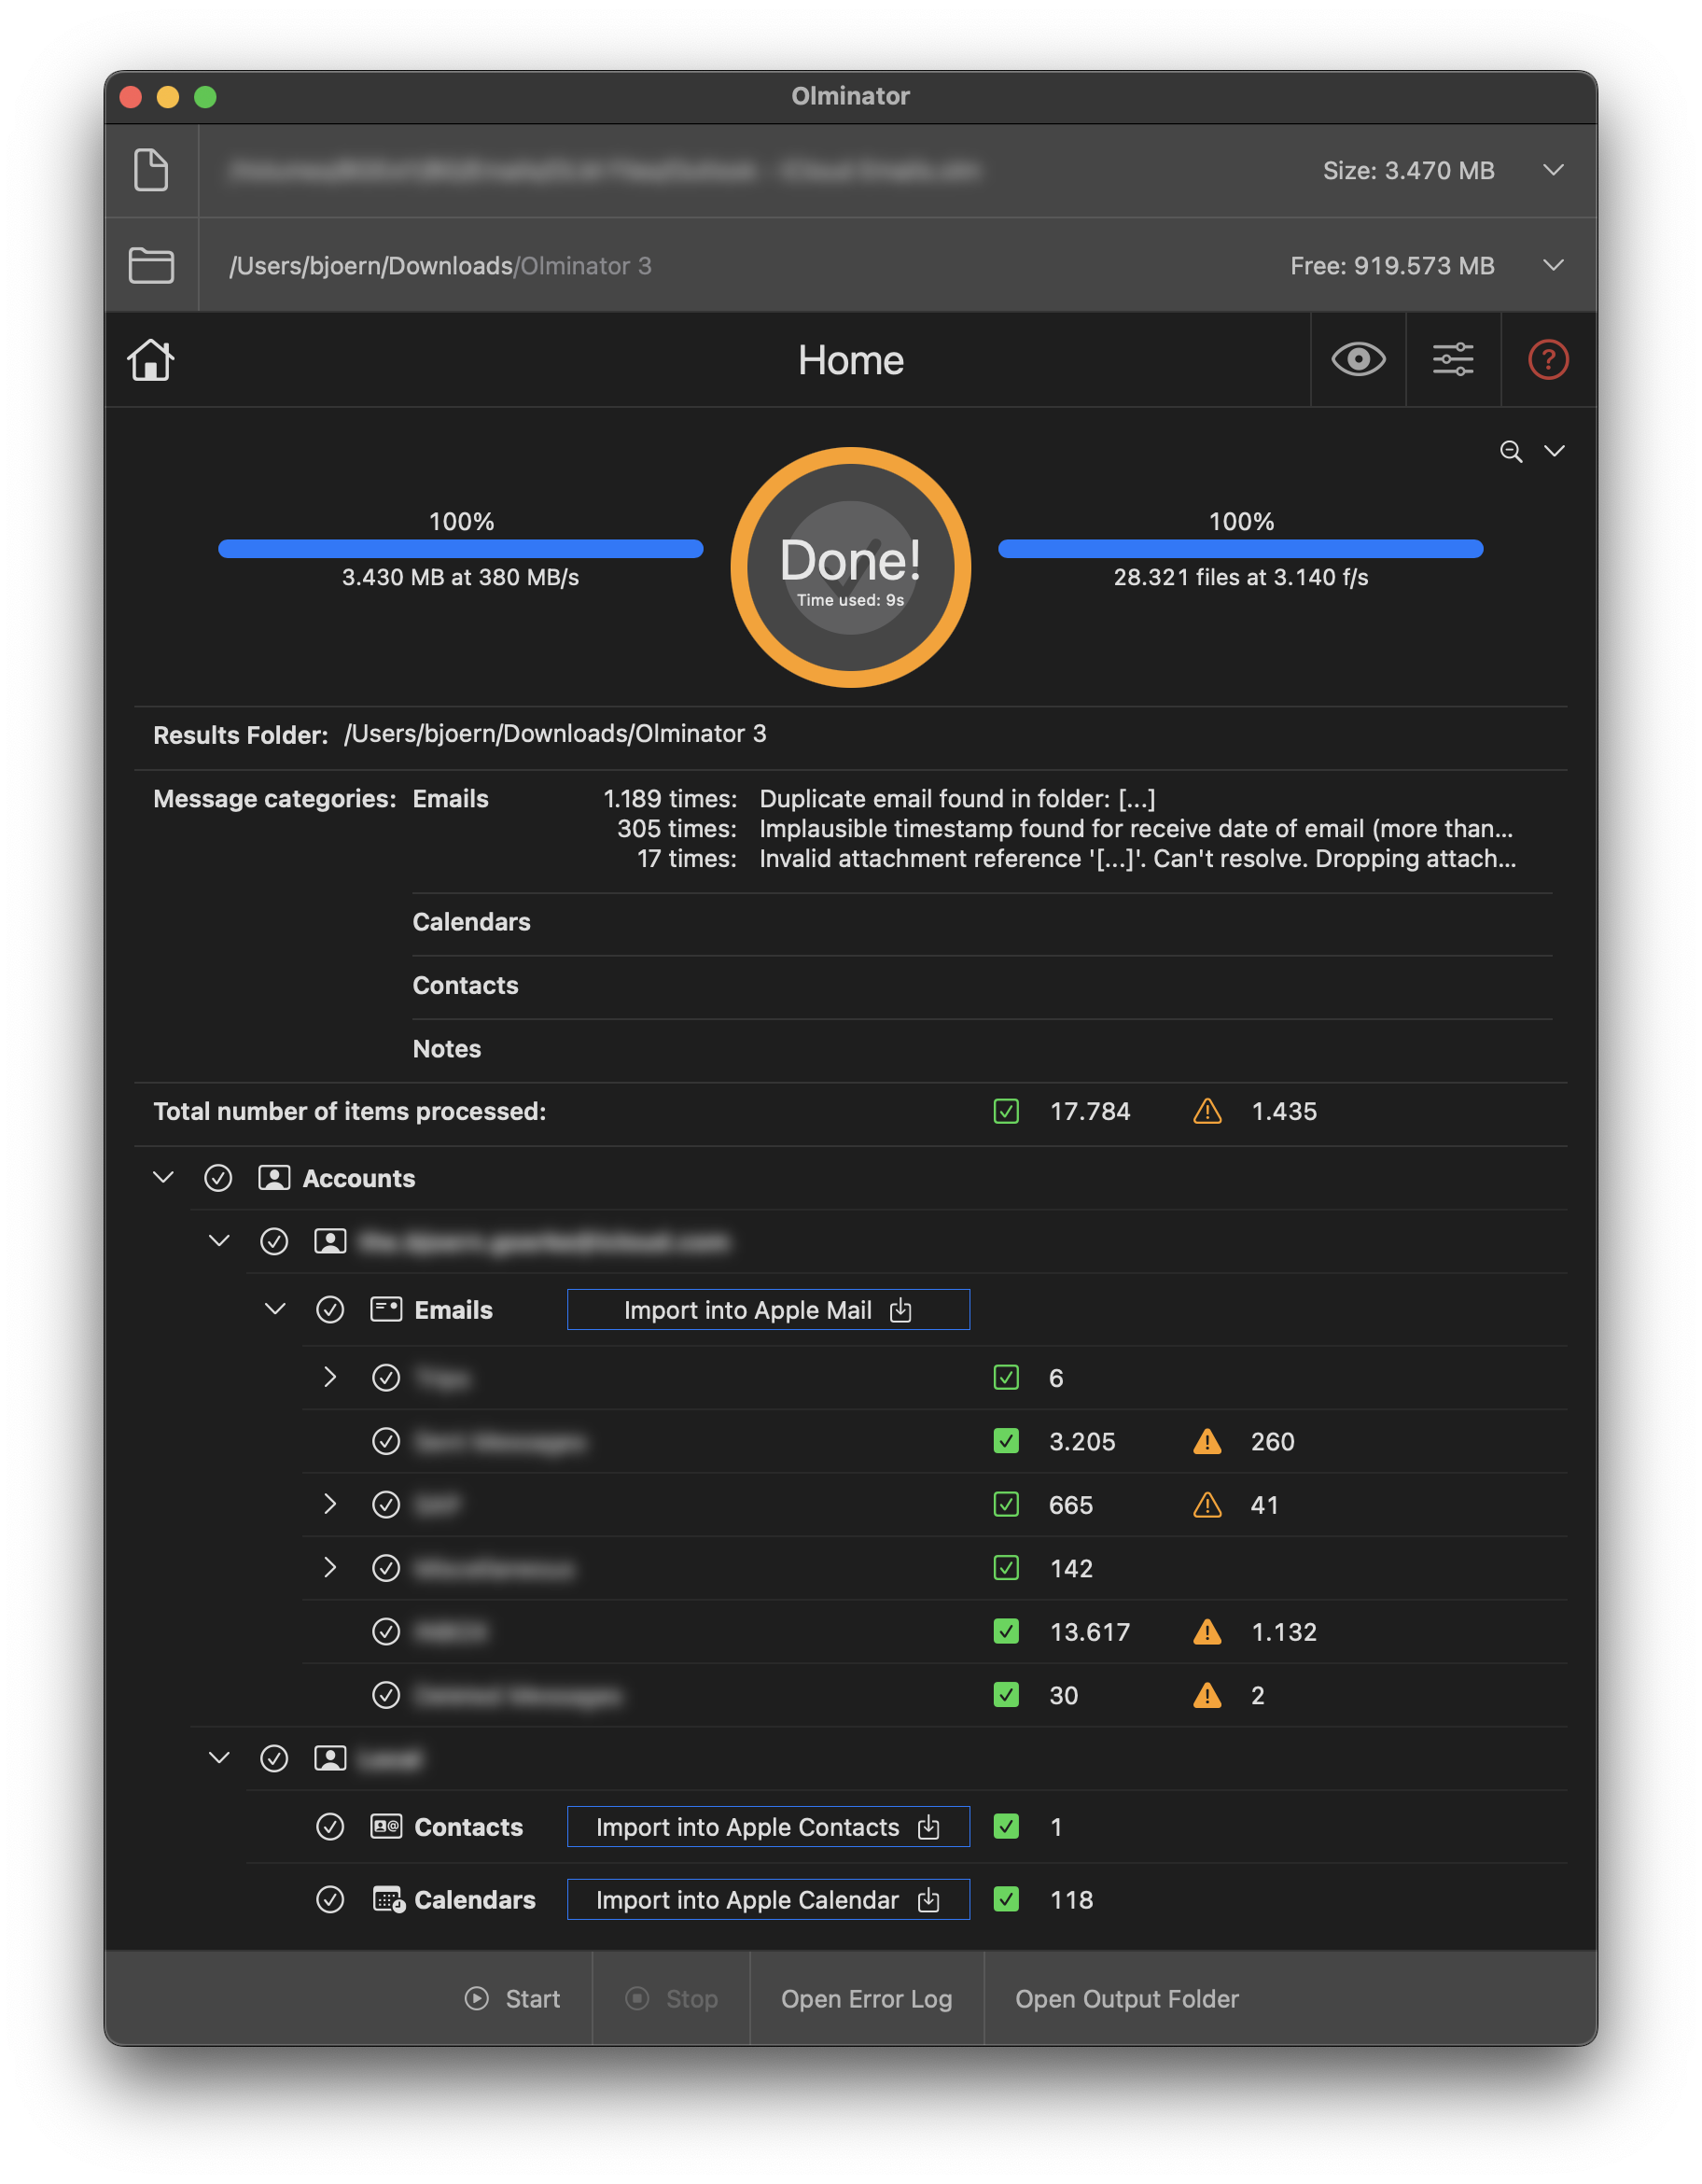
The sections below outline the manual procedure for importing conversion results into the respective Apple productivity applications. Unfortunately not for emails (for security reasons enforced by Apple for understandable reason!), but for calendar, contacts and notes items Olminator can alternatively trigger an automatic import into the respective application if you like: press the "Help me importing" button at the bottom of the Olminator window once the conversion has finished or open up the detailed progress view on the "Home" screen (by clicking the little chevron symbol in the bottom right corner) and you'll find buttons to press for triggering the import of the various item types found in the conversion output.
As stated before, this automatic import is unfortunately not possible with Apple Mail – Apple does not allow this for security considerations –, but for Apple Calendar, Apple Contacts and Apple Notes one can simply trigger the import by launching the respective application and passing it the conversion result as "open with..." parameter: this is what Olminator is actually doing when you press one of those "Import into ..." buttons. It has the exact same effect as following the manual procedures for those items as outlined below: The respective app will start and present you with a dialog box asking you to reconfirm the import before any action is performed. Pretty convenient and no harm can be done.
Apple Mail supports importing .mbox files, single ones as well as batch-importing many .mbox files contained in a directory tree. When batch-importing, Apple Mail will prompt you with a list of all .mbox files it has identified for import and allows you to select/deselect those you want to import/not import.
Here's how to proceed:
Once the import is finshed, Apple Mail will tell you so about a successful process or any issues experienced.
You will now see your imported mails as a new entry in the folder list in your "On My Mac" section in the Apple Mail sidebar. Opening that folder entry will reveal the sub-structure containing your emails as usual. You can now re-arrange folders or merge auto-split .mbox files back together into a single sub-folder as you like.
Hint: It may be advisable to point-check the imported content, making sure it's complete and nothing has been lost in the process, everything looking as expected and desired. While things should be fine always, it never hurts to double-check nevertheless (see also Troubleshooting).
Please check the Limitations section for any limitations in regards of email handling by Olminator.
While the import should normally pass without any issues, even when importing hundreds of thousands of individual emails, if you happen to find yourself in trouble nevertheless, check out the Troubleshooting section for any hints.
Apple Calendar supports importing .icf files. While Apple Mail supports batch-import, i.e. importing many files in one swipe, .ics files have to be imported into Apple Calendar one by one. For each .ics file you import you can decide whether to import/add it to an existing calendar as additional events, or create a completely new calendar for it.
Caveat: I strongly recommend creating a new calendar for an imported .ics file! This allows you to easily revert the import and delete the data you've added without mixing things up with existing calendar data! Once you've checked the imported calendar data for completeness and correctness, you can still merge the new calendar and its events with an existing calendar of your choosing.
Here's how to import a .ics file into Apple Calendar:
Caveat: Apple Calendar is providing almost no feedback on any import issues experienced or successful completion of the import. So make sure to thoroughly check the results. A little warning sign in the upper part of the side panel indicates issues and clicking it may provide some insights.
There seems to be a number of limitations in place for Calendar events when importing into Apple Calendar. For details on how Olminator tries to pertain all information as loss-less as possible, please check the Limitations section.
While the import should normally pass without any issues, if you happen to find yourself in trouble nevertheless, check out the Troubleshooting section for any hints. There are a number of limitations in place for Calendar items that may be causing undesired trouble when moving calendar data between applications (e.g. too many or too big attachments, too many participants for an event, ...).
Apple Contacts supports importing so-called "vCard" or .vcf files. Those files follow the RFC6350 specifying the corresponding content format.
Here's how to import .vcf files into Apple Contacts:
There is a number of limitations imposed by the .vCard standard that make it non-trivial to map all proprietary information exported out of Microsoft Outlook for Mac for a contact into Apple Contacts or other contact management solutions in a standardized way. For details on how Olminator tries to pertain all information as loss-less as possible, please check the Limitations section.
While the import should normally pass without any issues, if you happen to find yourself in trouble nevertheless, check out the Troubleshooting section for any hints.
Apple Notes supports importing several file formats. Olminator uses HTML as a portable format for your notes which Apple Notes supports as well.
Here's how to import .html files with your notes content into Apple Notes:
There are no known limitations.
While the import should normally pass without any issues, if you happen to find yourself in trouble nevertheless, check out the Troubleshooting section for any hints.