The Home sheet provides you with the most straightforward conversion experience possible: Press 'Start' and watch your entire .olm archive being converted to item-specific formats for importing into your favorite productivity apps afterwards. But there may be times when you want to have more control over what subsets of items in the .olm archive exactly get converted. This is when the Viewer sheet becomes the place to be.
By default, Olminator will simply convert the content of the entire .olm file you're providing. Since "Microsoft Outlook for Mac" will always export
On the Viewer sheet you can then select individual folders from your .olm archive in the folder list on the left side of the window. Once a folder in the folder tree has been selected, you can press the "Start converting to [format]" button at the bottom and Olminator will turn the selected folder plus all its checked sub-folders' items into the format you have selected.
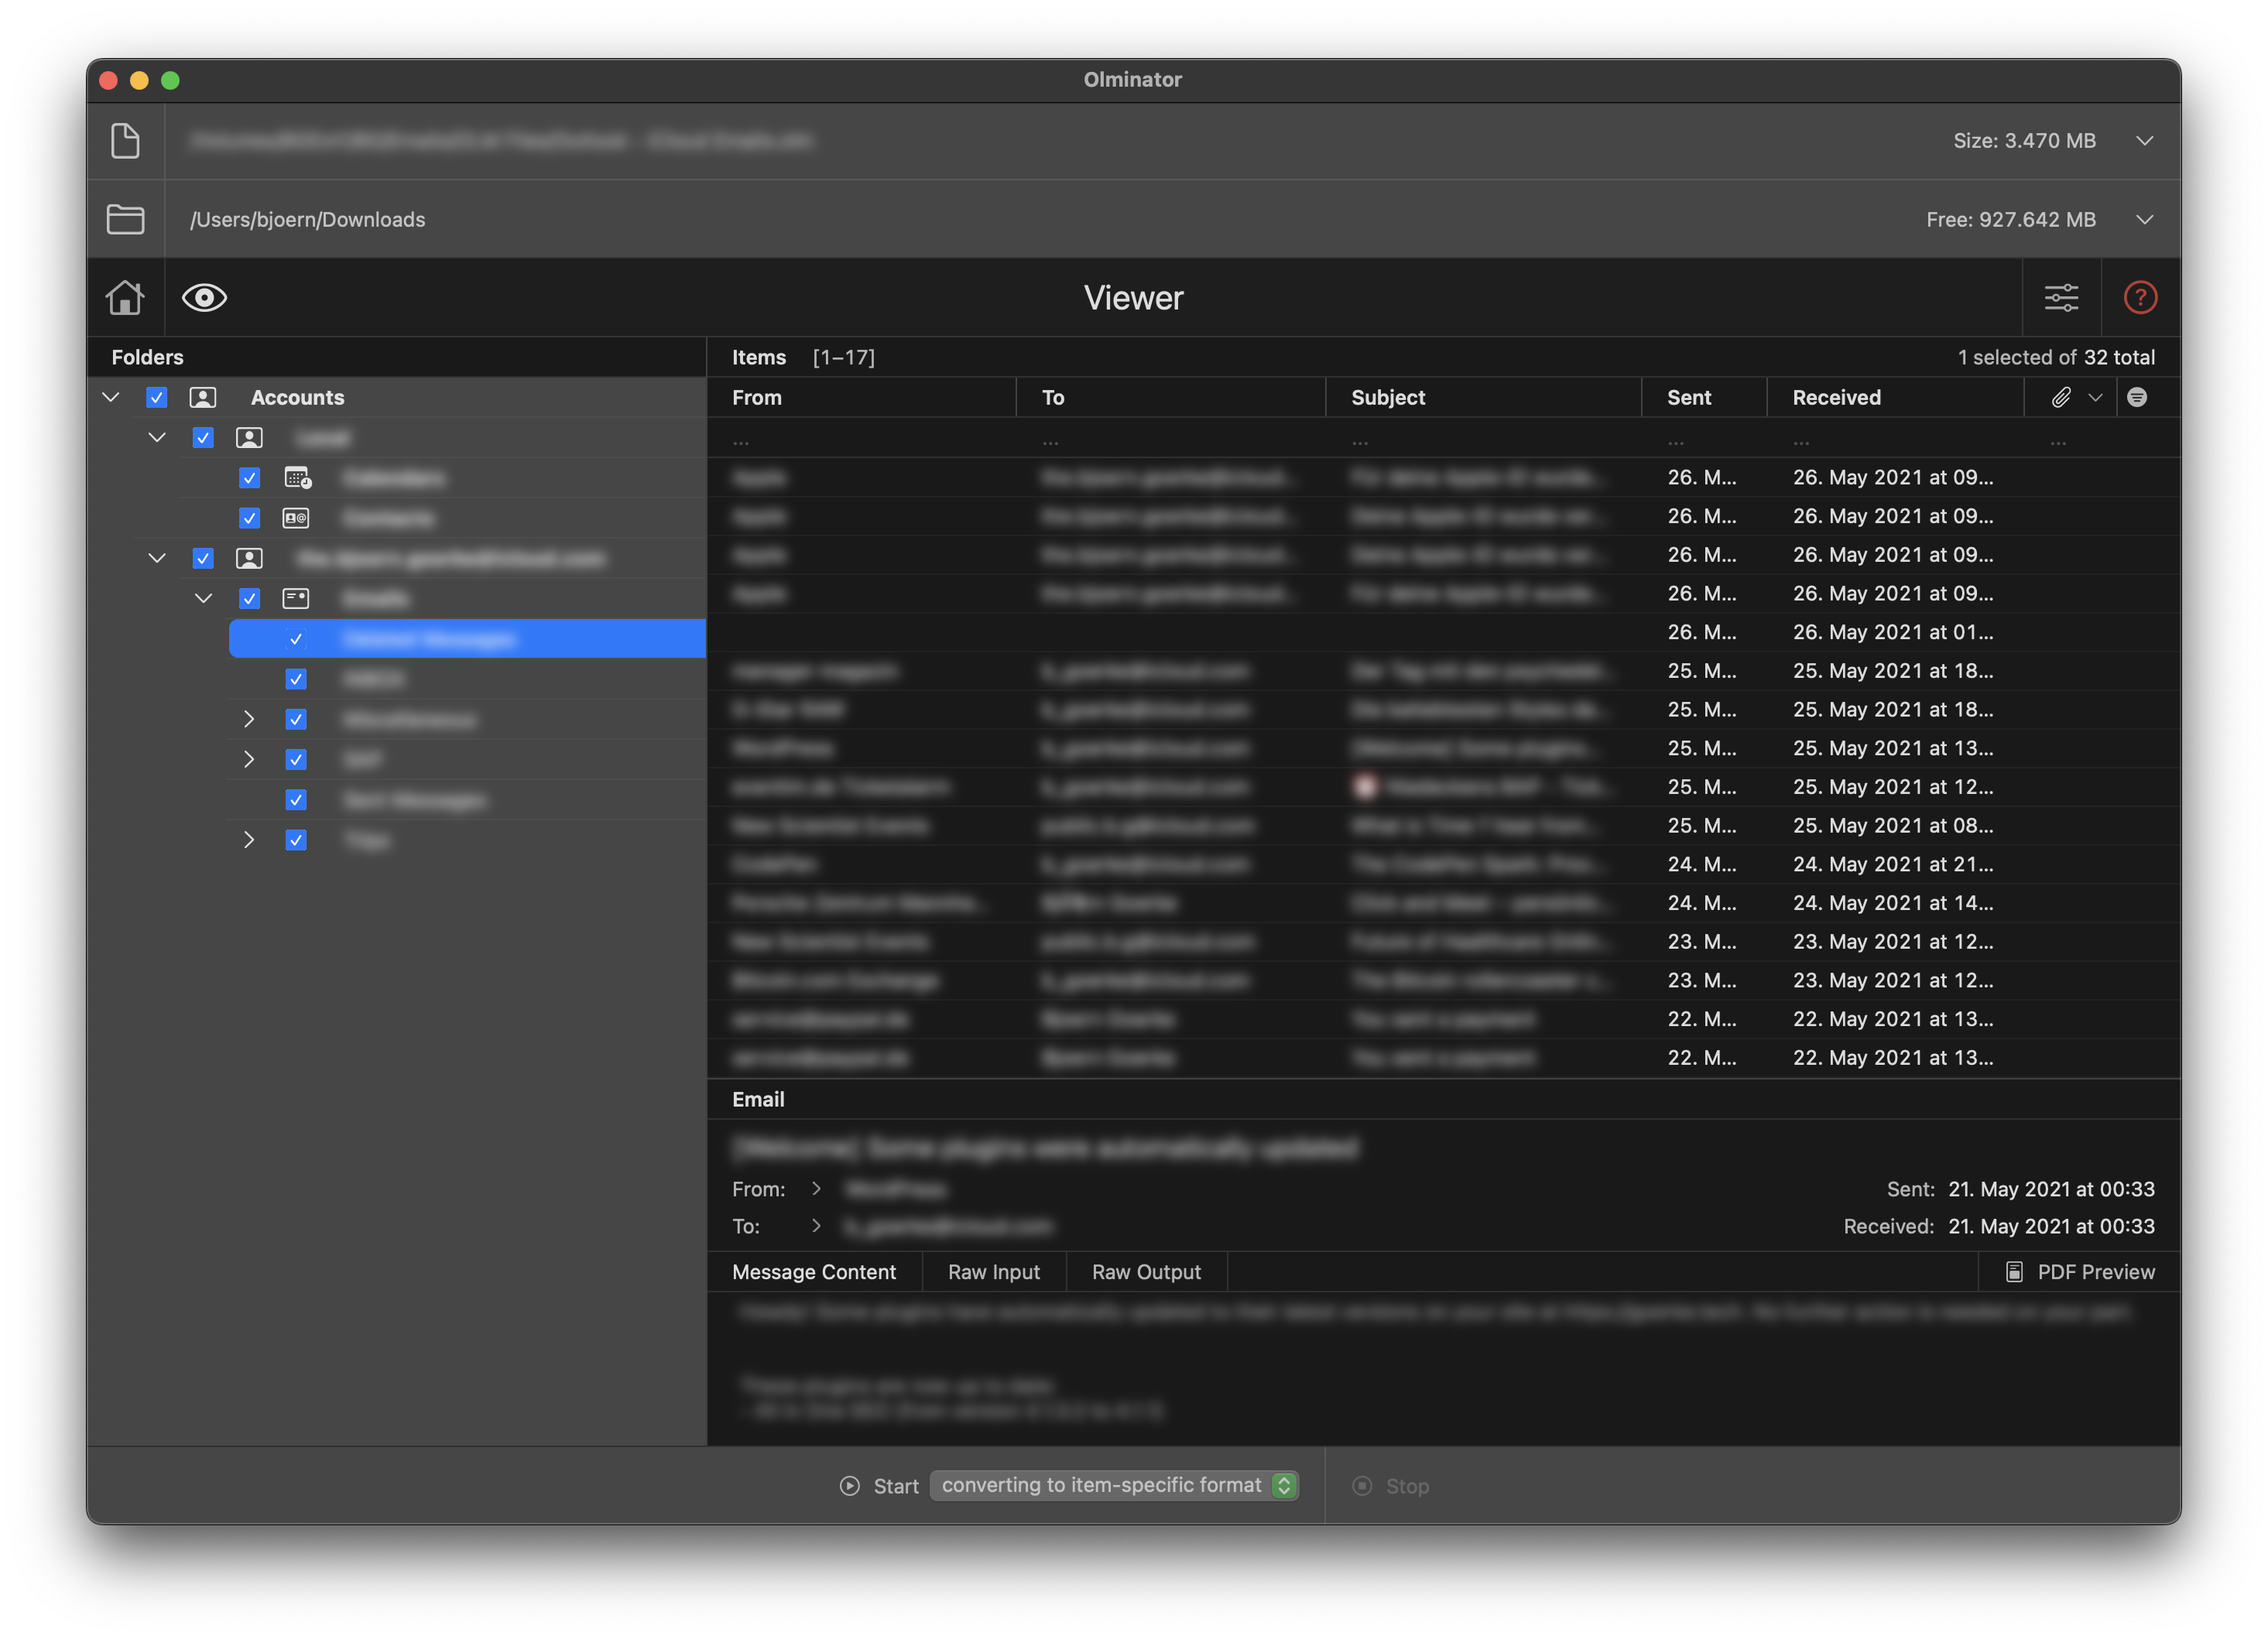
The Viewer allows you to browse the entire content of your .olm archive without even converting it's content to the respective target formats before. It's an ad-hoc browser for .olm files.
BUT: Let's be clear that it is not a replacement for the respective applications for email, calendars, contacts or notes. And it was and will never intended to be! It's just that: a viewer (with some extras, of course). Thanks for your understanding.
It thus allows you to scan through old .olm archives you may have still sitting around on some spare disk that won't be worth converting and importing into your email application because it's largely irrelevant content for you most of the time, but then there's the moment you look for that email from Aunt Betty... That's when the Viewer might come handy.
The Viewer is to the largest part straightforward to use: Use it like you use your "Microsoft Outlook for Mac" application or your Apple Mail.
Hint: The Viewer – as the entire UI of Olminator – make intensive use of tooltips to explain what a UI element will do. Hover the mouse above anything and let it sit there for a few seconds to bring up a tooltip (if one exists). May safe you browsing throught this mess of a documentation.
Now here's a few things you can do in the Viewer:
Hint: A little blue rotating light will indicate that the rows still get sorted by that particular row. This may take a while as Olminator always fetches the content of your .olm file on the fly. But you can continue working while the sorting happens. Just don't be surprised if the table suddenly shows different row content due to a change in sorting order.
Hint: You can use this feature to narrow down the search for a specific item. Yes, sorry, no free-text search available yet in Olminator.
Hint: Not that you should ever need those two raw input and output tabs, but they are heaven if it comes to remote debugging your conversion issue... Thanks! :)
As mentioned above already, once you have selected a folder from the folder list, you can also Start [converting to ...] by pressing the corresponding button on the button bar at the bottom of the window and with that start the conversion of the selected folder into either the item-specific application formats (i.e. .mbox, .ics, .vcf), into PDF or HTML, or extract the folders attachments.
You can use the checkboxes right in front of the folder names to include or exclude certain sub-folder structures from a conversion of their "super"-folders. You may e.g. uncheck specific account names to completely exclude them when converting the "Accounts" (i.e. root) folder, uncheck "Calendars" or "Notes" to keep those from not being converted when you convert all accounts or an entire account, uncheck "Spam" folders, etc. You get the idea.
Hint: Please be aware that the checking/unchecking of folders in the Viewer does not influence any conversion on the Home tab. There it's always the entire archive.
When you have selected the folder to convert, picked the conversion type from the drop-downlist of the "Start" button and feel ready to go: press "Start [....]" and off we go.
When converting to PDF or HTML, or when extracting attachments, it's possible to have Olminator place all result files into the same output folder rather than having it use a "clean" new "Olminator #" directory each time you hit "Start". To tell Olminator to do so – whenever possible – click the little lock icon next to the output directory name in the output folder field near the top of the window.
If the lock is locked, Olminator will place PDF, HTML and attachment files into the same folder as long as you stay within the same type of conversion you're doing (i.e. each subsequent conversion is towards the same format). If you switch the conversion format, you'll get a new output directory and the procedure starts over.
If the lock is unlocked, you'll get a new output directory for each single conversion. This is always the default after starting Olminator.
This feature is intended to help you converting several hand-picked folders one by one and not be required to afterwards manually merge the results. At the same time, you need to be mindful of what you're doing with each conversion.
Which is also the reason, btw, why this feature is not available for item-specific application format conversions where a lot of activities happen behind the scenes to keep the entire conversion result consistent. Overlaying the output of several independent conversion runs is not an option at this stage.
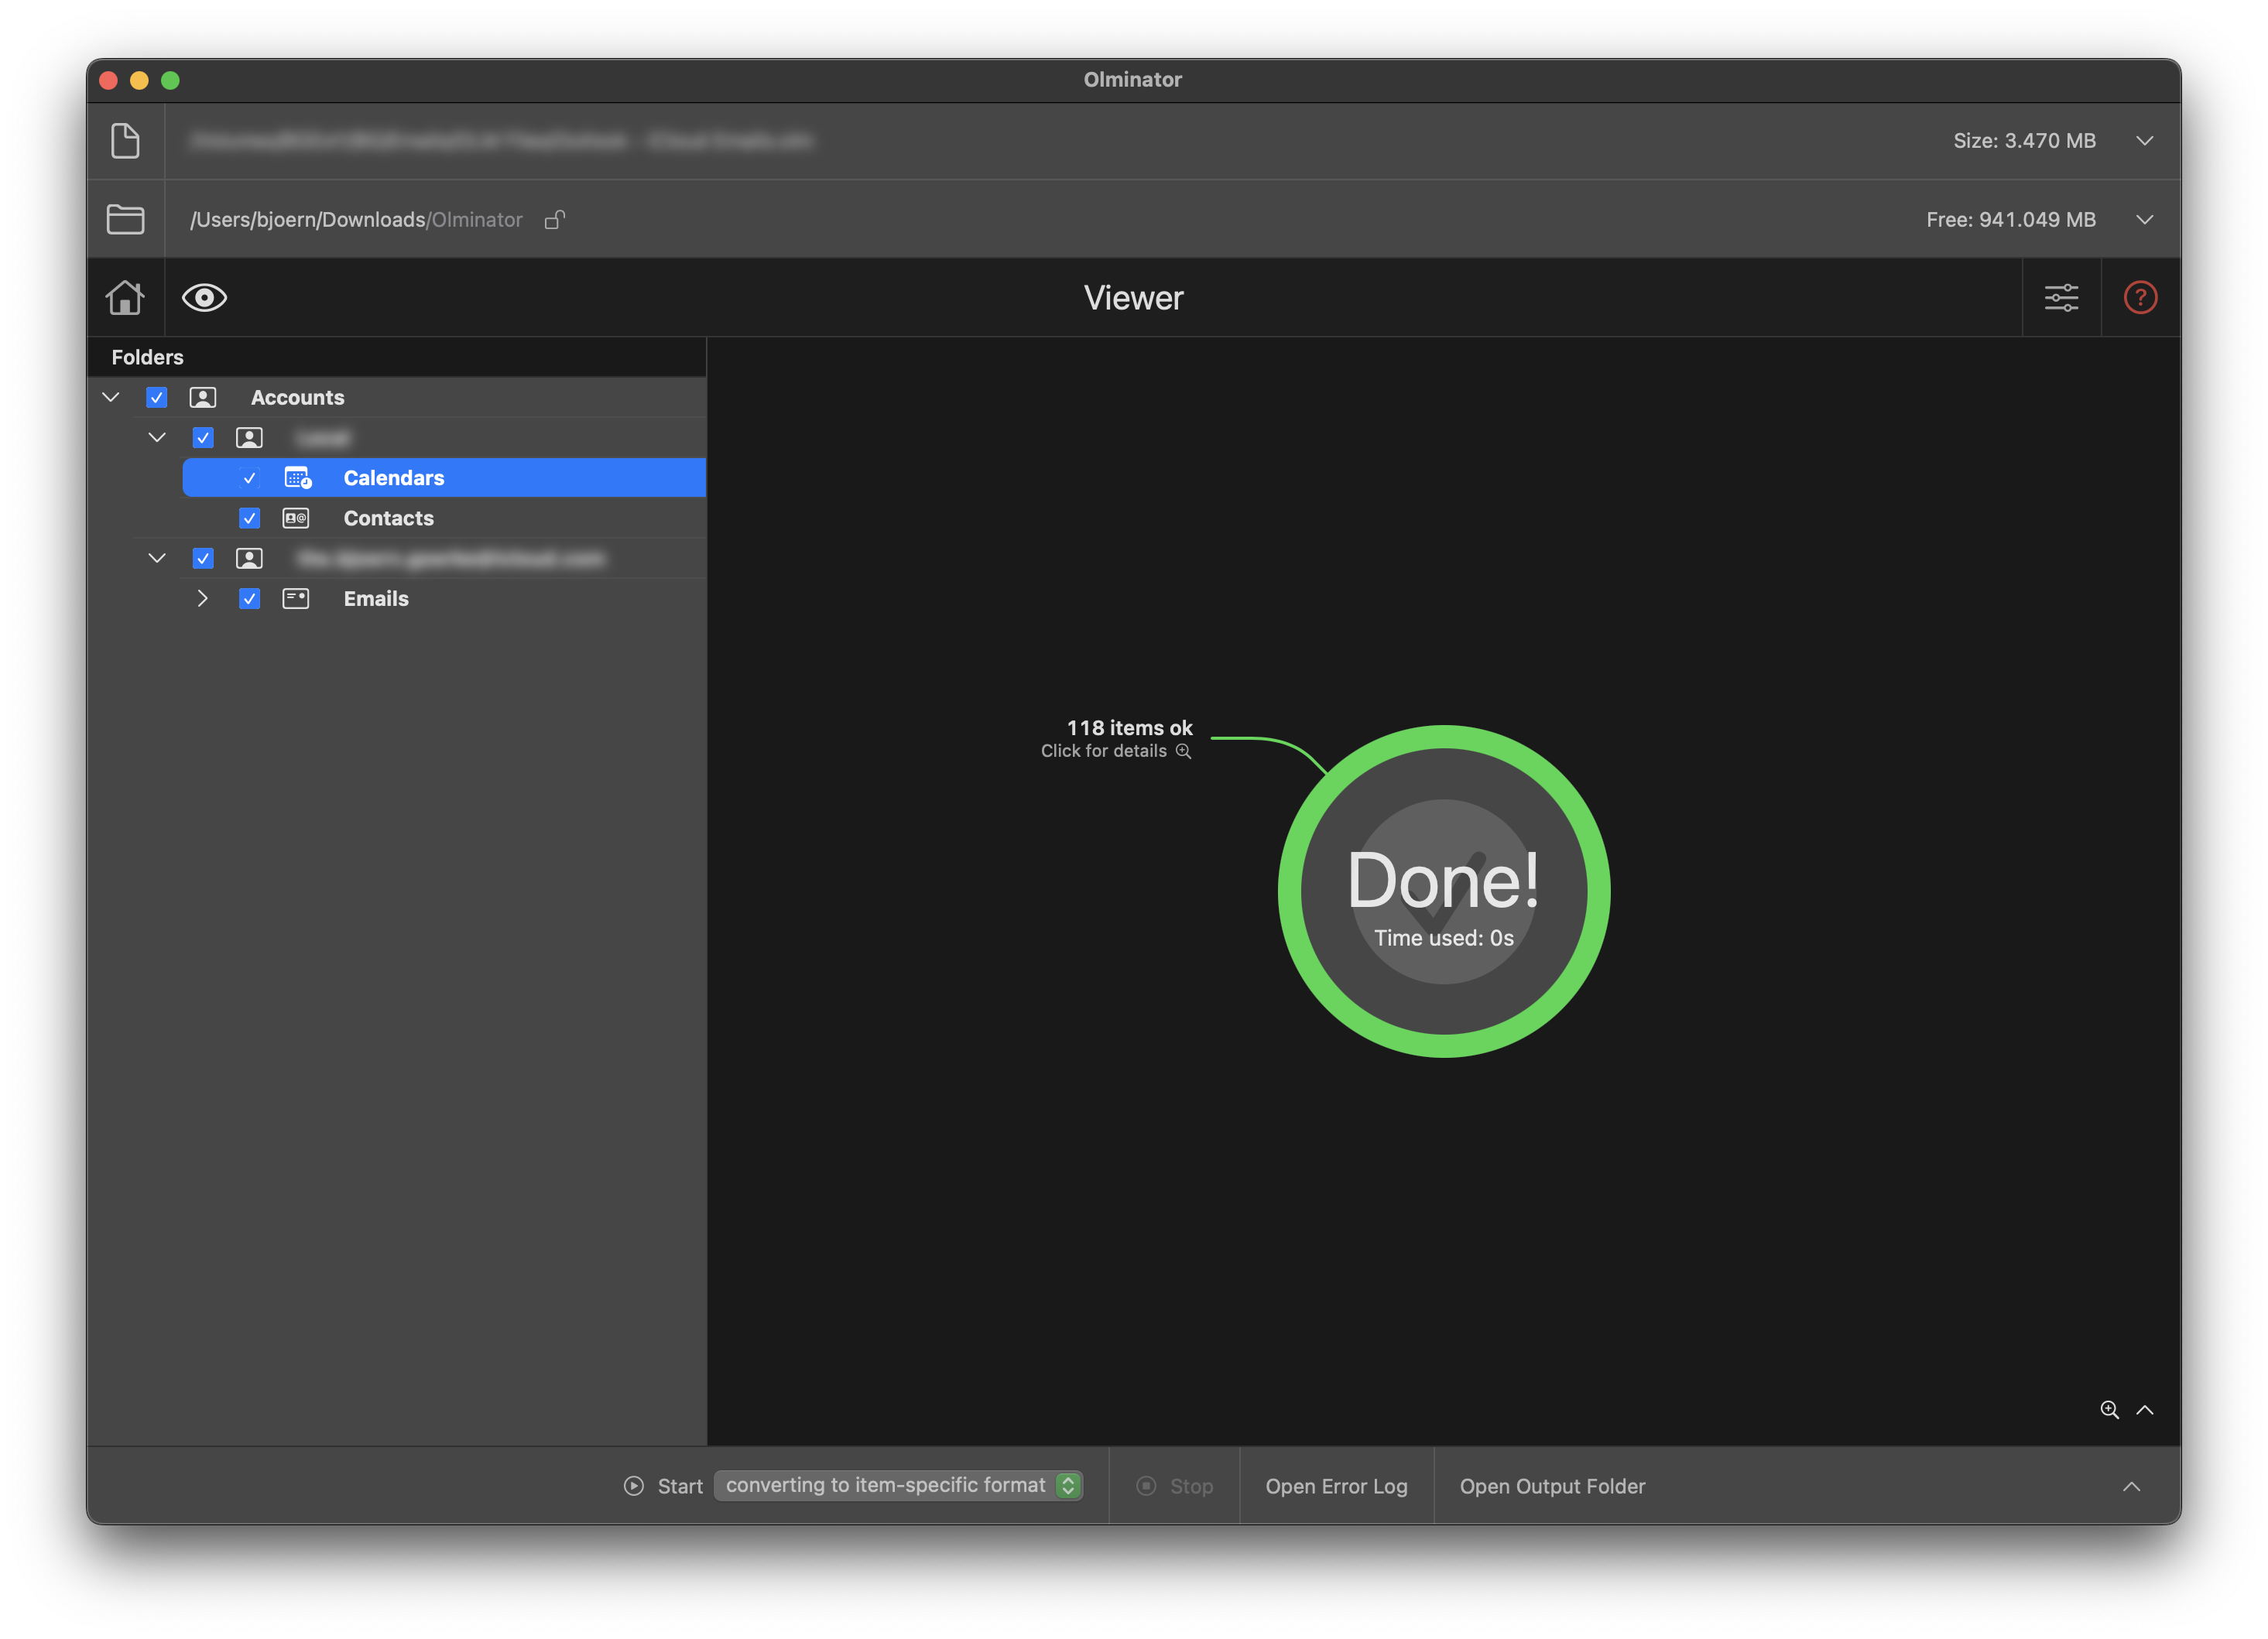
Once you start the conversion by pressing the "Start [converting to ...]" button on the button bar at the bottom of the Olminator window, progress of the conversion is displayed correspondingly by indicating the approximate percentage of work done as well as an estimate of the time remaining til completion.
If you're interested in getting more details or just enjoy the hypnotic nature of filenames and numbers flickering over a screen, you may click the little chevron symbol to the right bottom of the Progress overview sheet. This will open up a Progress details view into the conversion process. Enjoy.
Hint: The Progress Details view is only available if you're not converting to PDF or HTML.
You can stop a running conversion at any point in time by pressing the "Stop" button next to the "Start ..." button. The conversion will then stop – eventually that may take a few seconds for all concurrent conversion jobs to be terminated.
Hint: You can't resume a conversion from where you left of by pressing "Stop". Pressing the "Start" button again will start a new conversion from scratch.
Congratulations! When a conversion has finished in the Viewer, the conversion report will remain there for a few seconds and then be automatically "minimized" into the lower right corner of the Viewer's button bar. The same will happen as soon as you select another folder from the folder list.
You can always re-open/close the last conversion's result view by clicking on the minized view on the button bar at the bottom of the Olminator window.
Furthermore, three additional buttons will show up at the button bar:
 Those unfortunate situations – or other potentially concerning trouble – will be logged into the error log
for your reference and potential counter-measure.
Those unfortunate situations – or other potentially concerning trouble – will be logged into the error log
for your reference and potential counter-measure.
Hint: The error log is placed into the output folder you provided and is named olminator_errors.log.